Set Up On-premise SQL Server
Install SQL Server 2019
Download the installer
Go to https://www.microsoft.com/en-us/sql-server/sql-server-downloads
Choose Download now under SQL Server on-premises
This will download an executable named SQL2019-SSEI-Eval.
Install
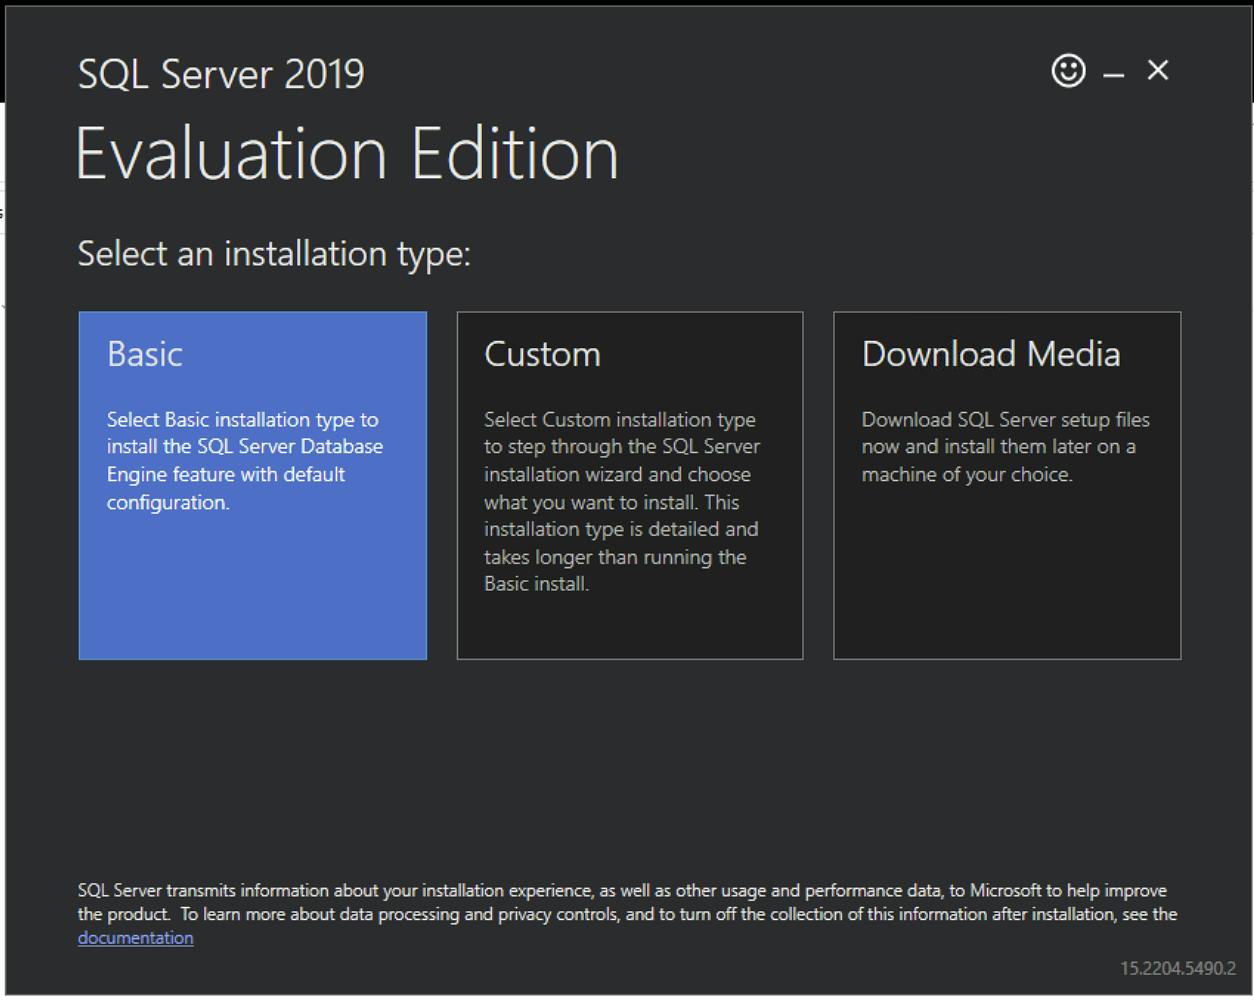
Choose Basic for the installation type:
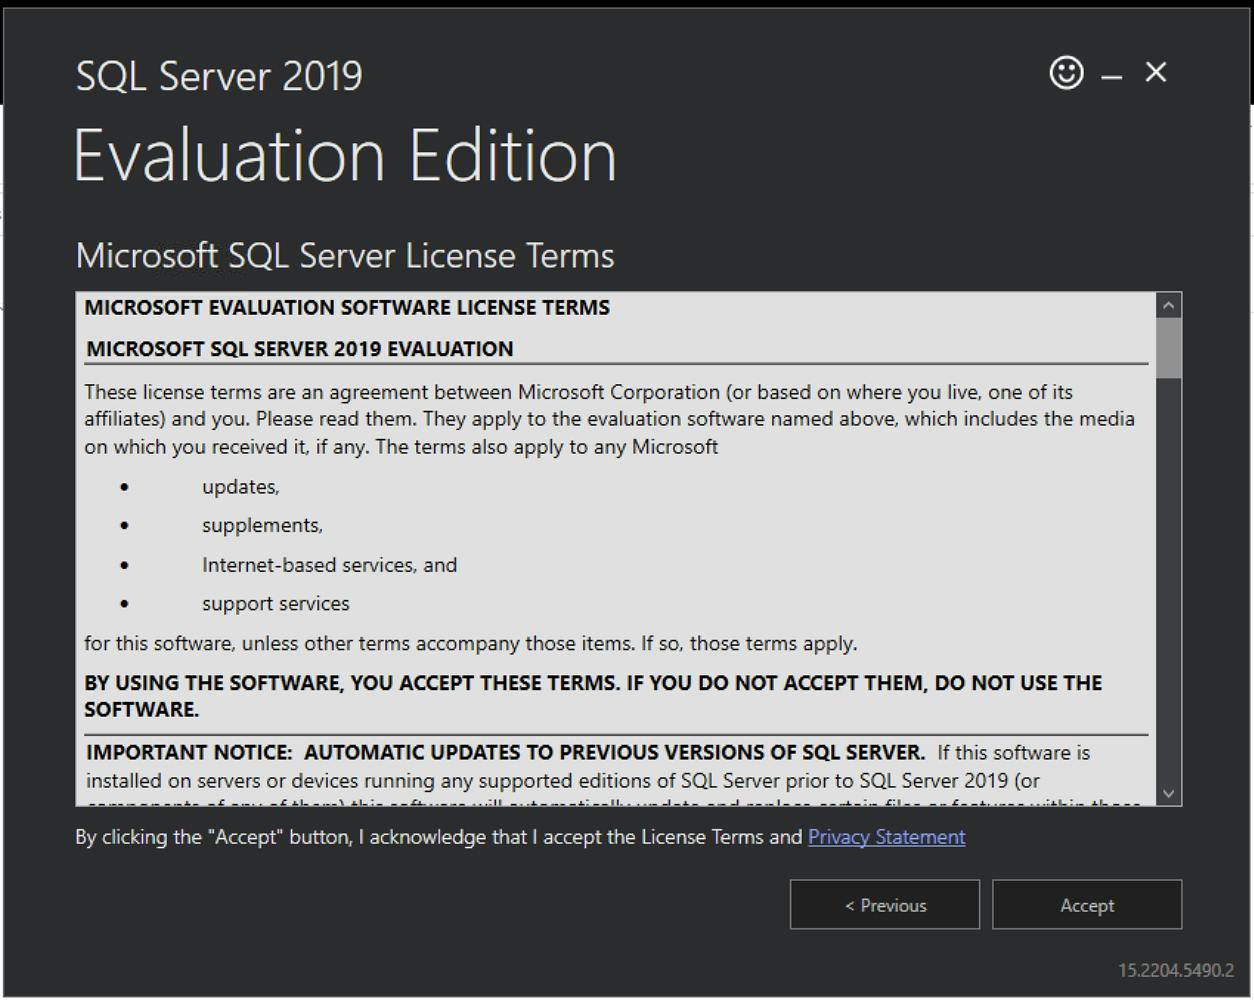
Choose Accept to accept the license terms:
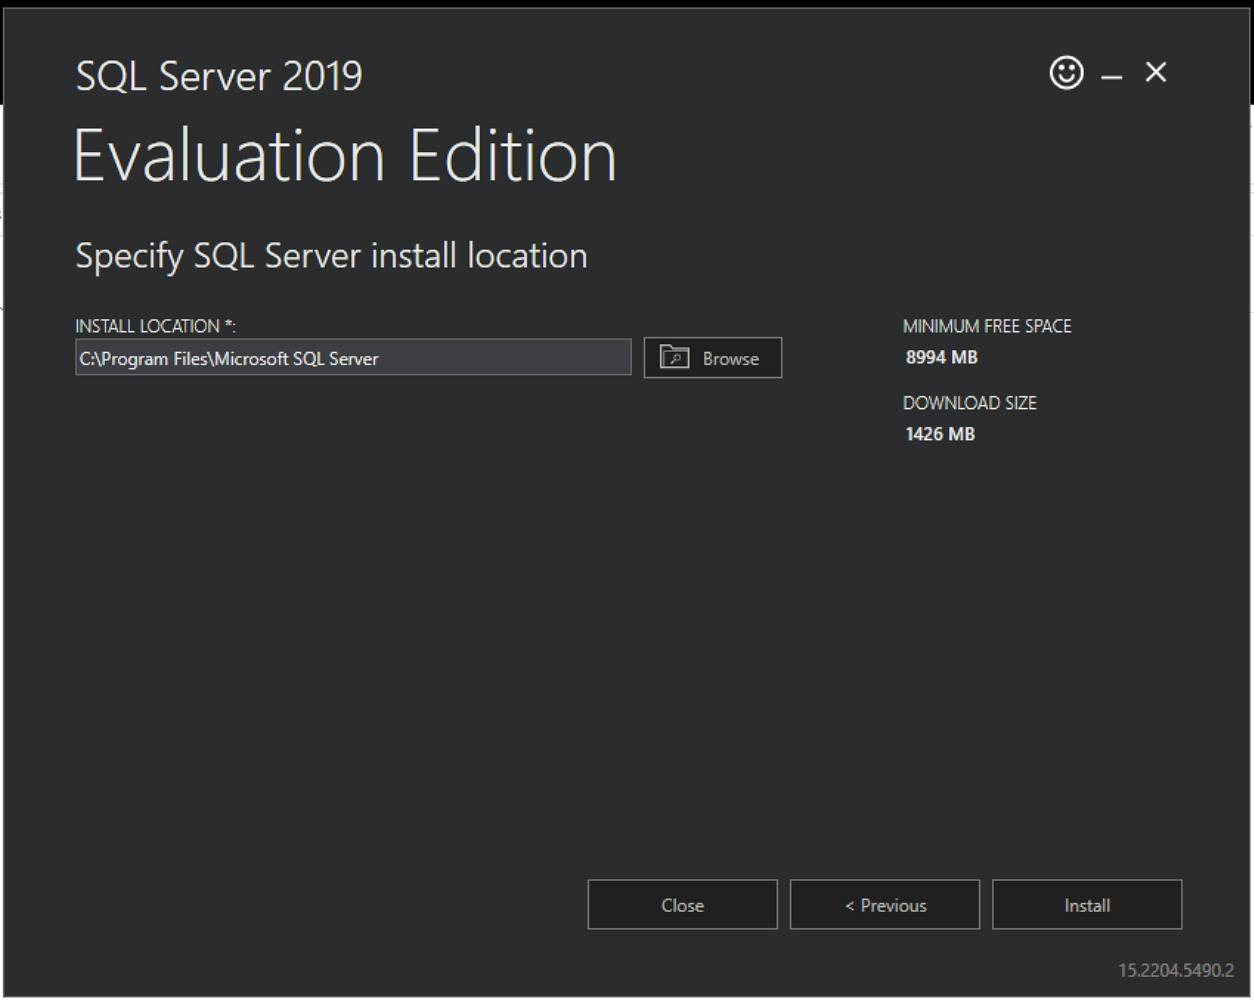
Specify the installation location or leave the default. Choose Install:
After it finishes downloading the install package, it will begin to install. If a restart is required, preform a restart and re-run the executable.
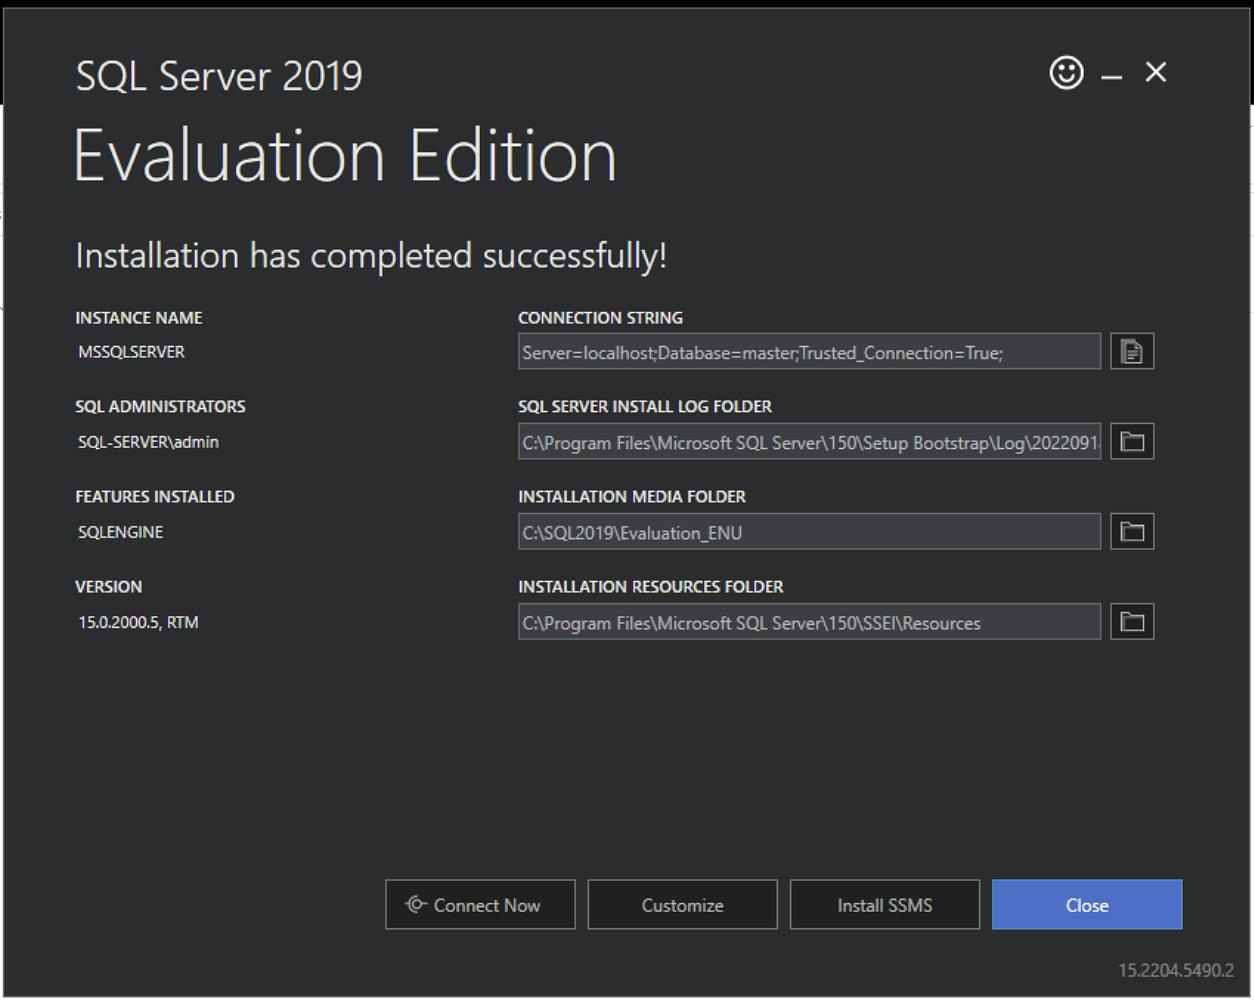
After installing, you should receive a success message 🎉:
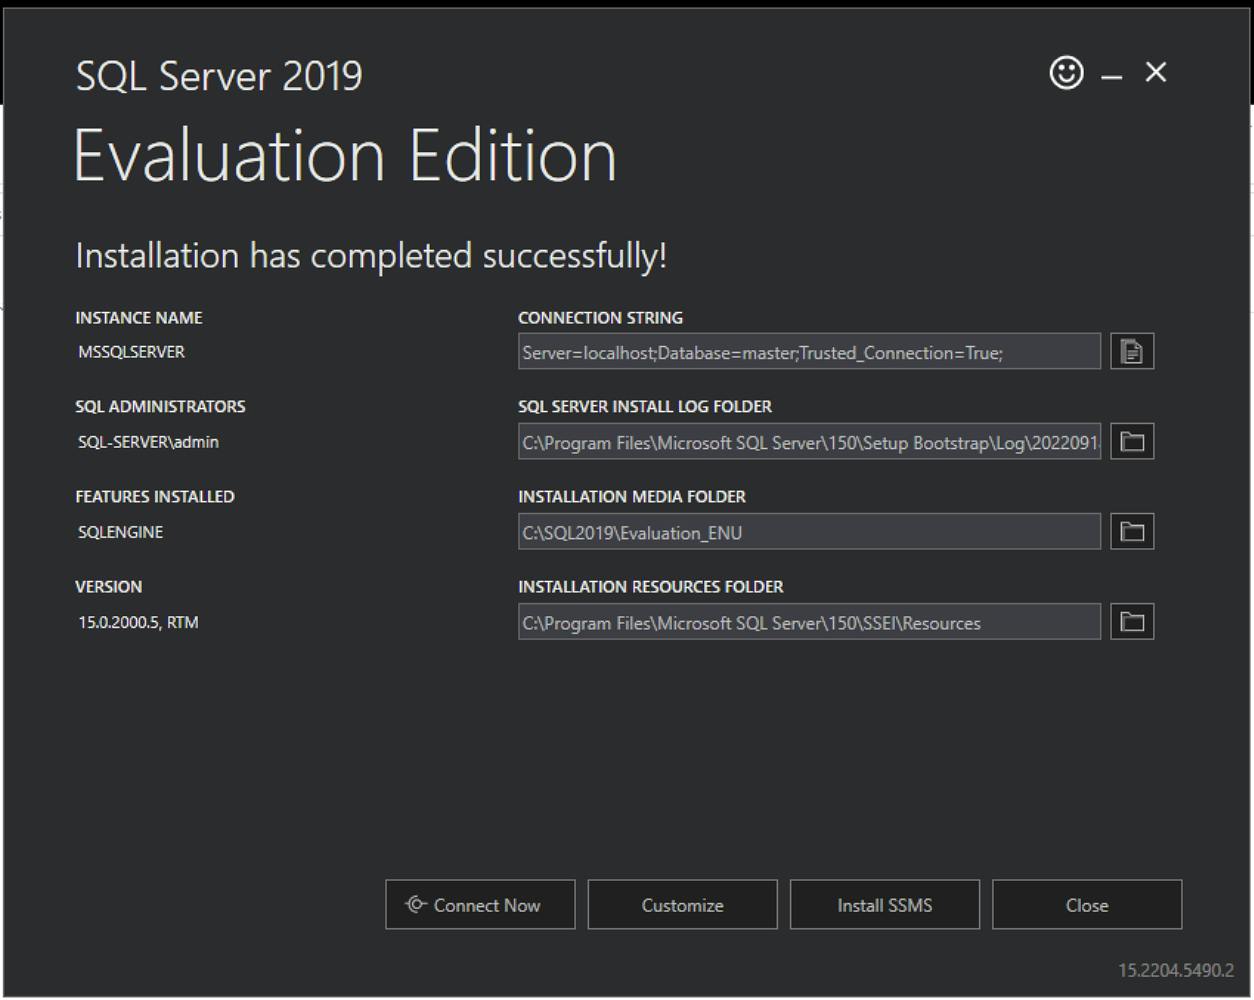
Choose Customize.
This will open the setup dialog:
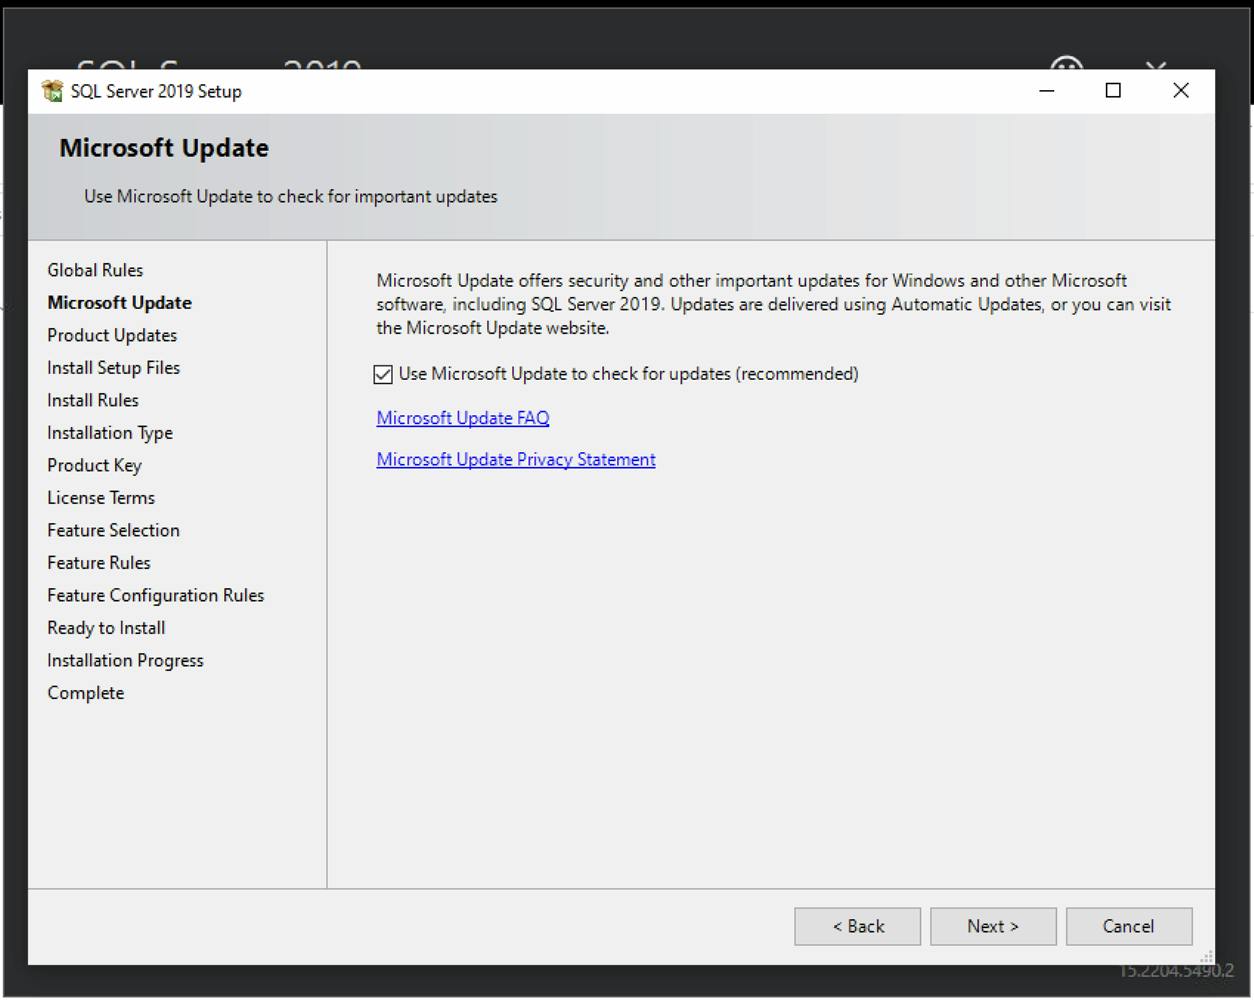
Enabling automatic updates is up to your preference. If desired, check the box.
Choose Next.
Once it says Operation completed, choose Next:
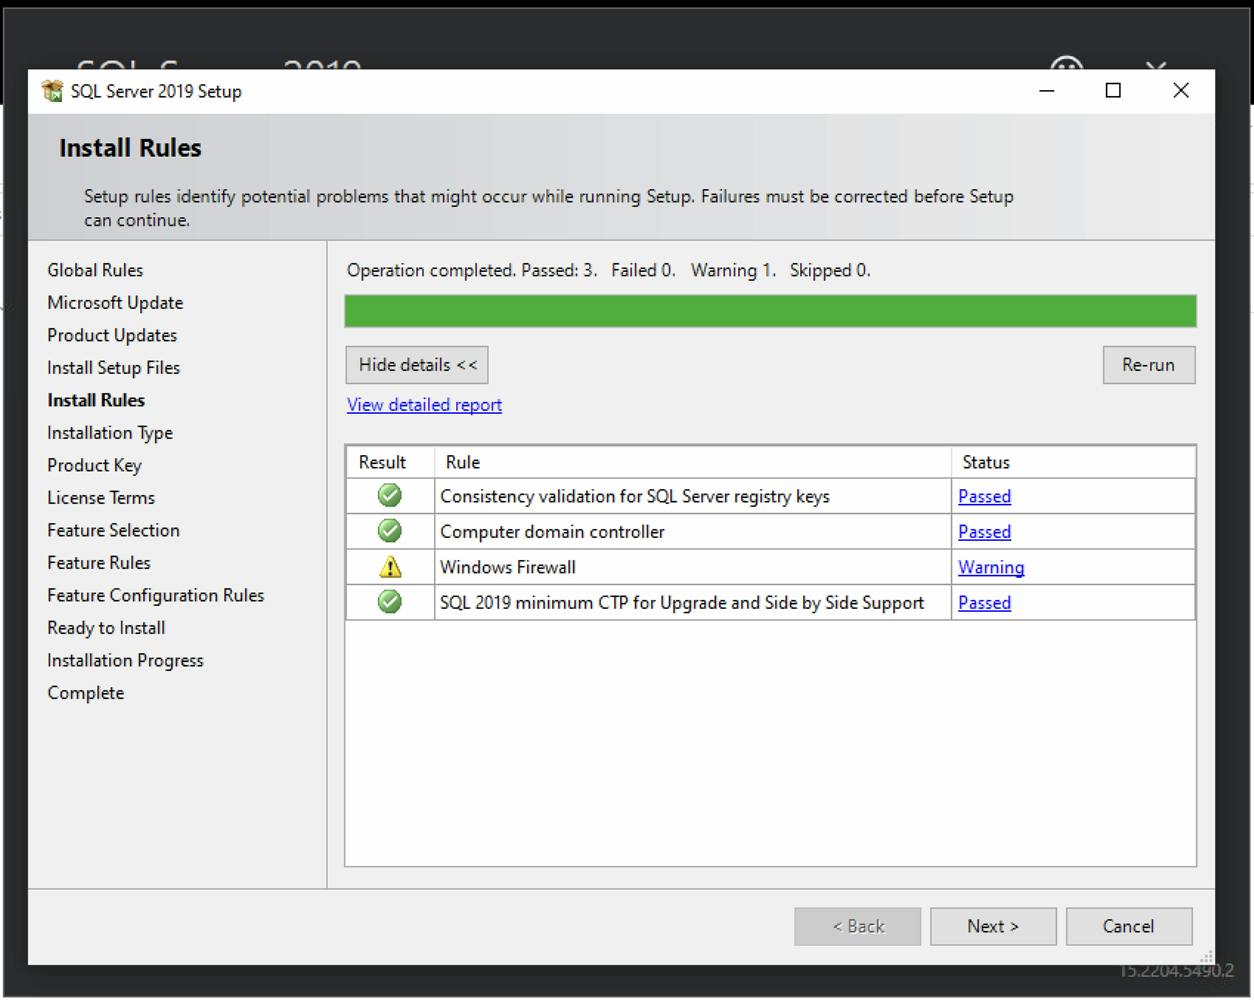
Ensure Perform a new installation of SQL Server 2019 is selected. Choose Next.
If you have a product key, enter it now. Otherwise, choose a free edition from the dropdown:
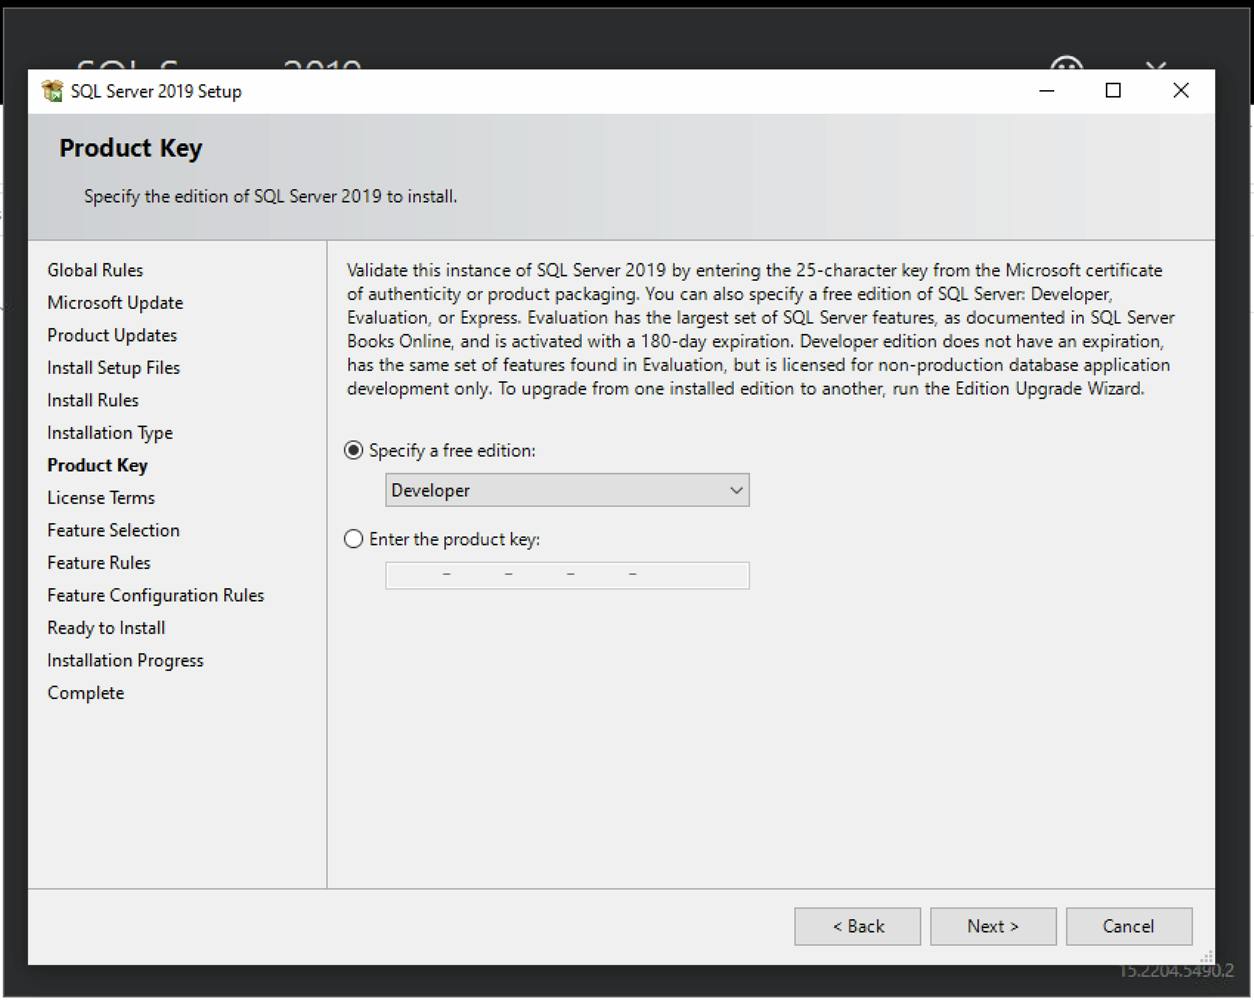
Choose Next.
Accept the license terms by checking the box and choose Next:
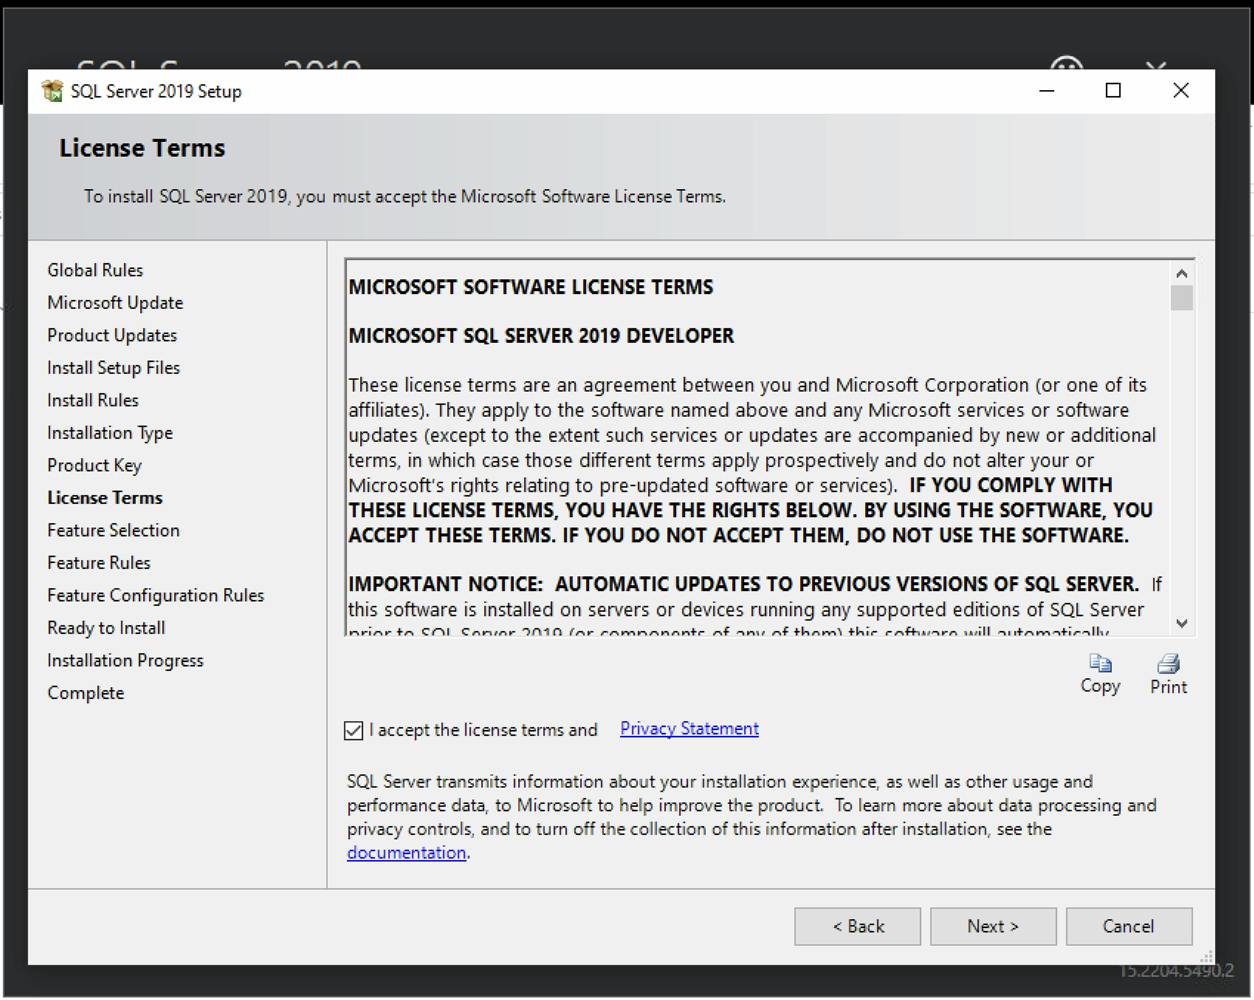
On the next page, we'll choose the features we want to install:
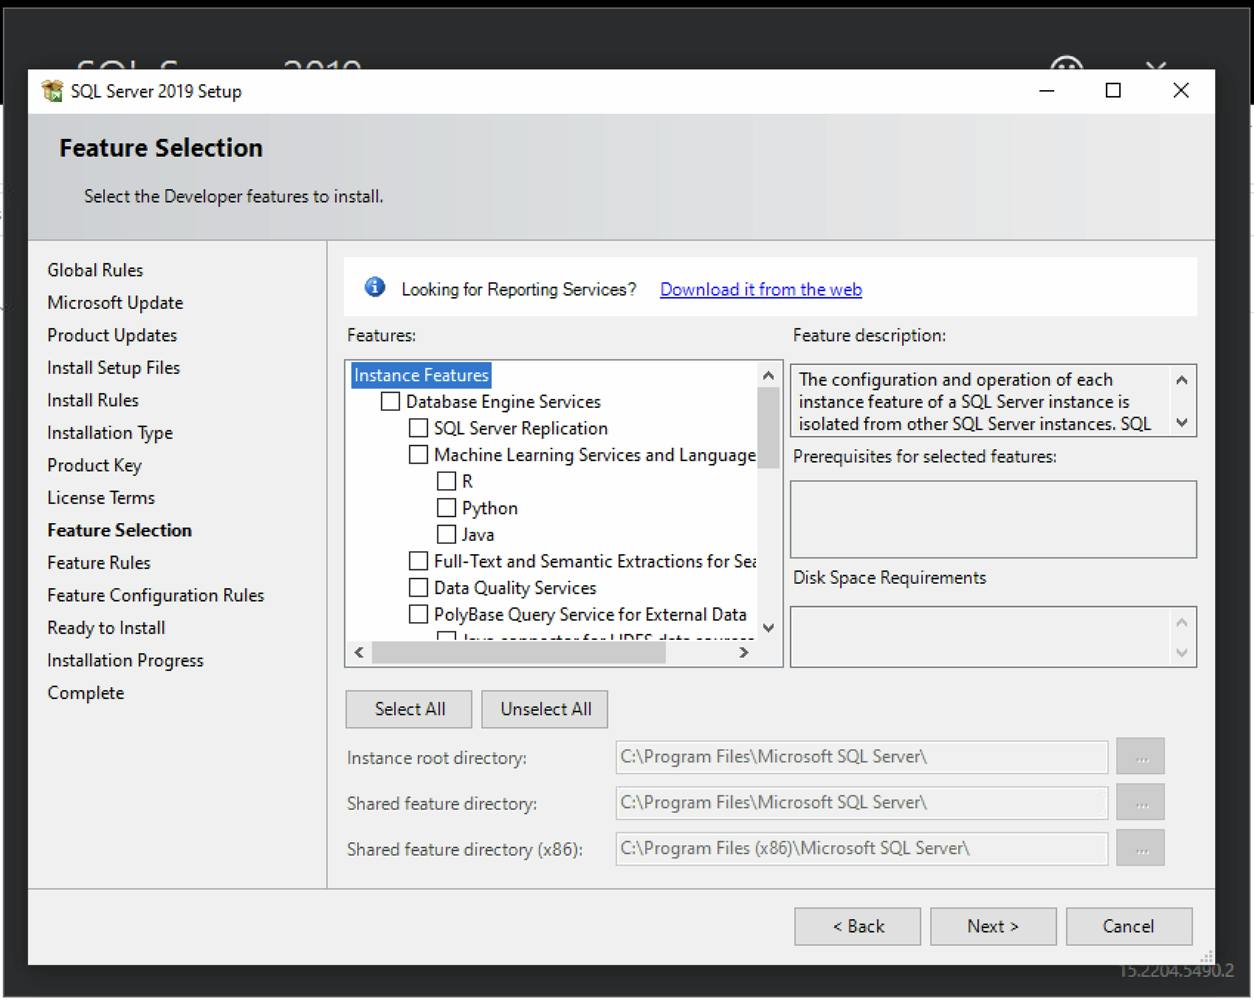
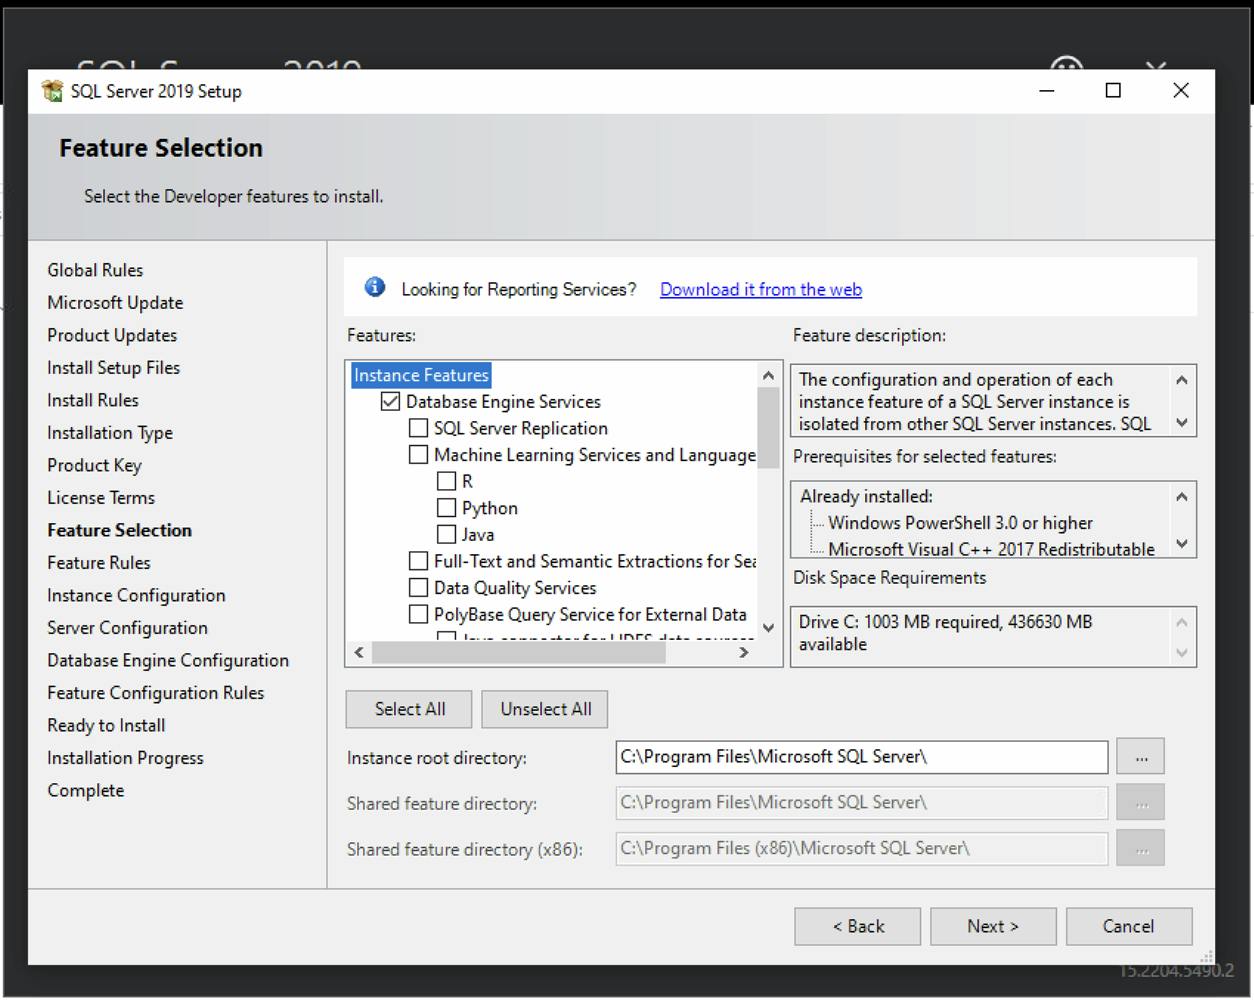
Check Database Engine Services and choose Next:
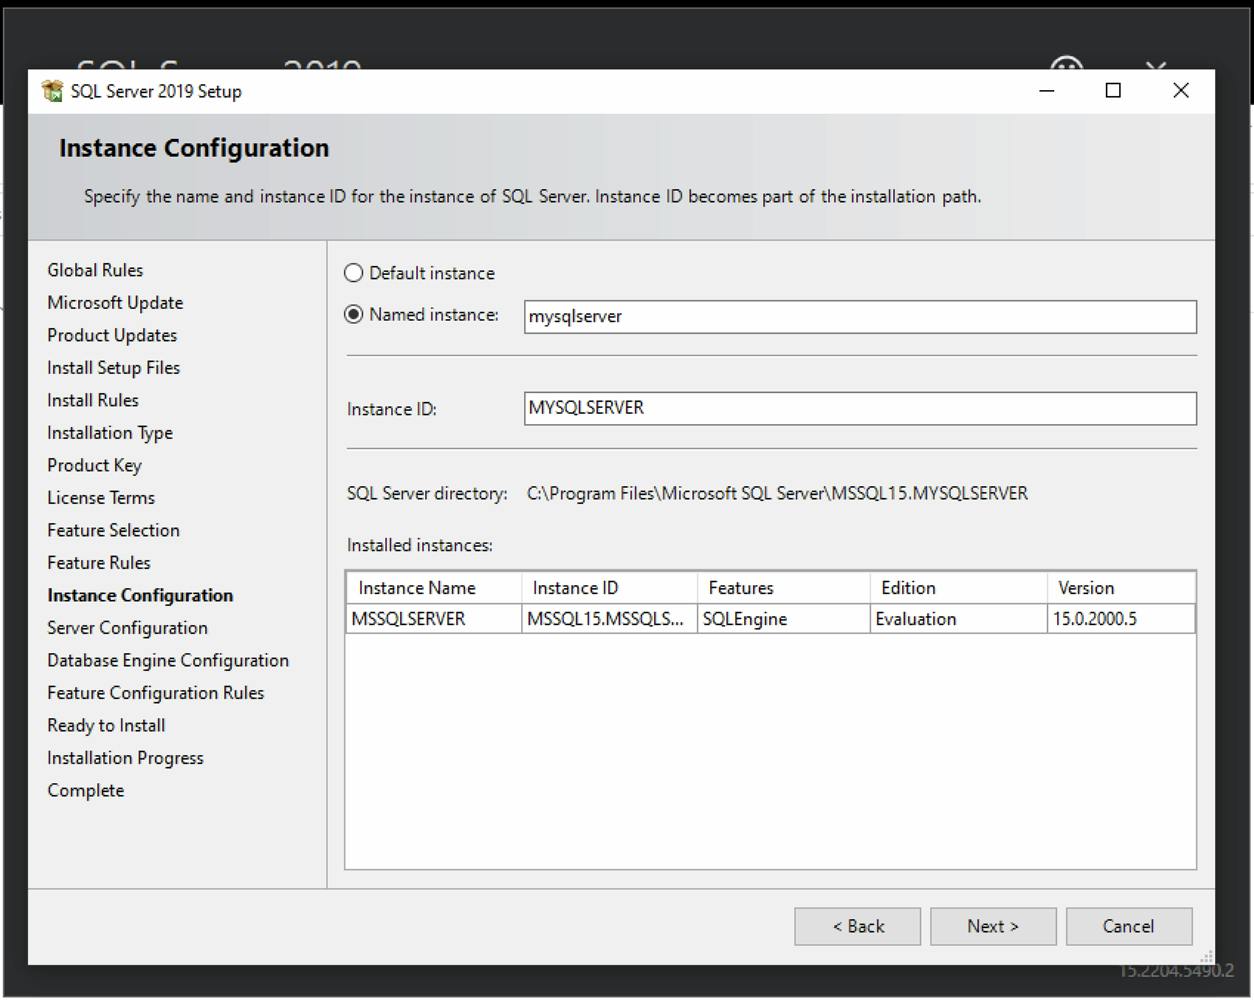
Specify the instance name and the Instance ID field will automatically populate:
Choose Next.
The Server Configuration page will show. Choose Next:
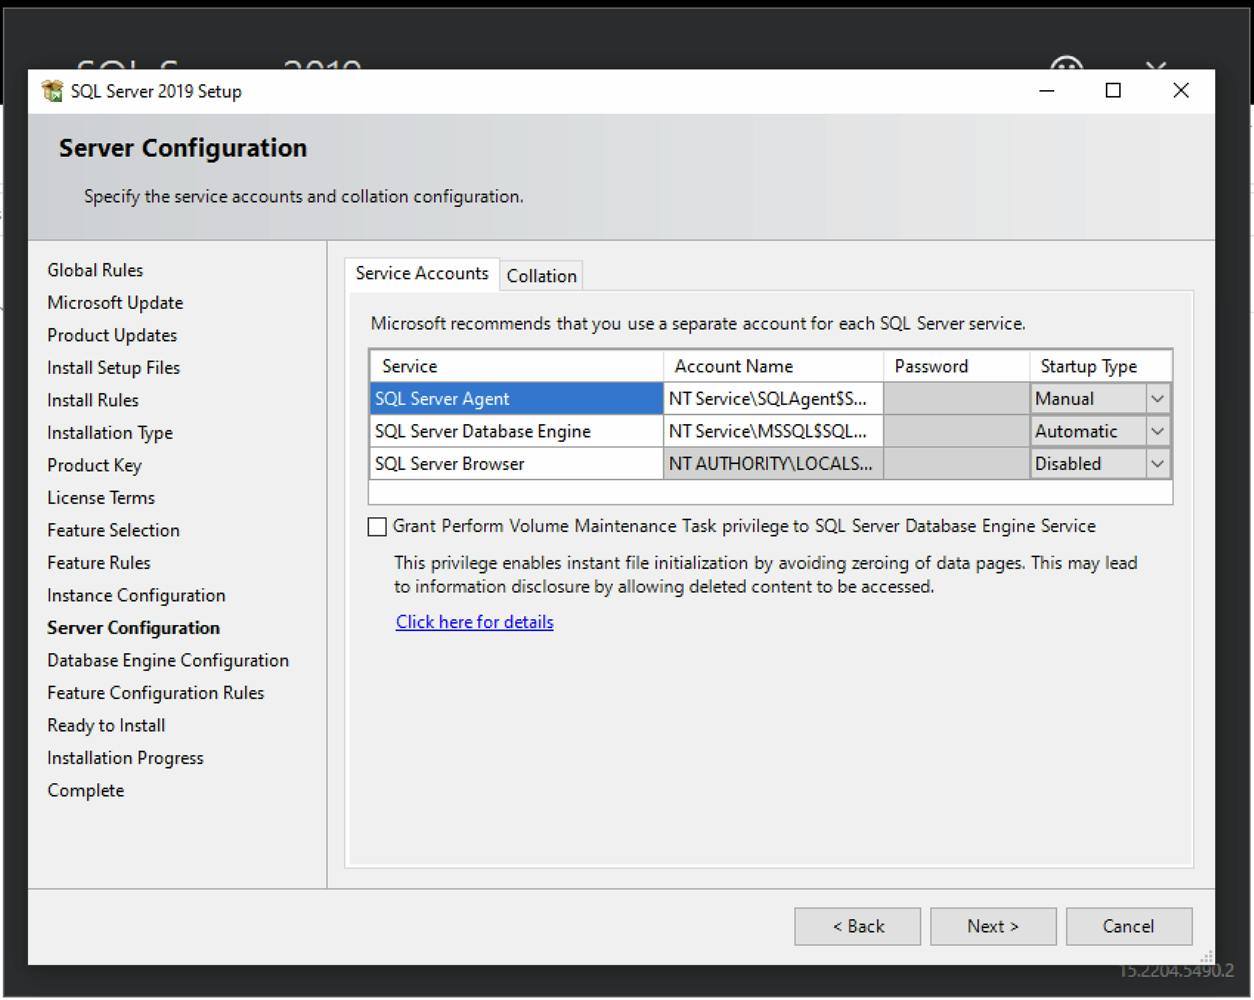
Select either Windows authentication mode or Mixed Mode. If you choose Mixed Mode, specify a password.
In the Specify SQL Server administrators section. Pick a Windows user(s) by choosing Add Current User to add the current user, and/or use the Add… button:
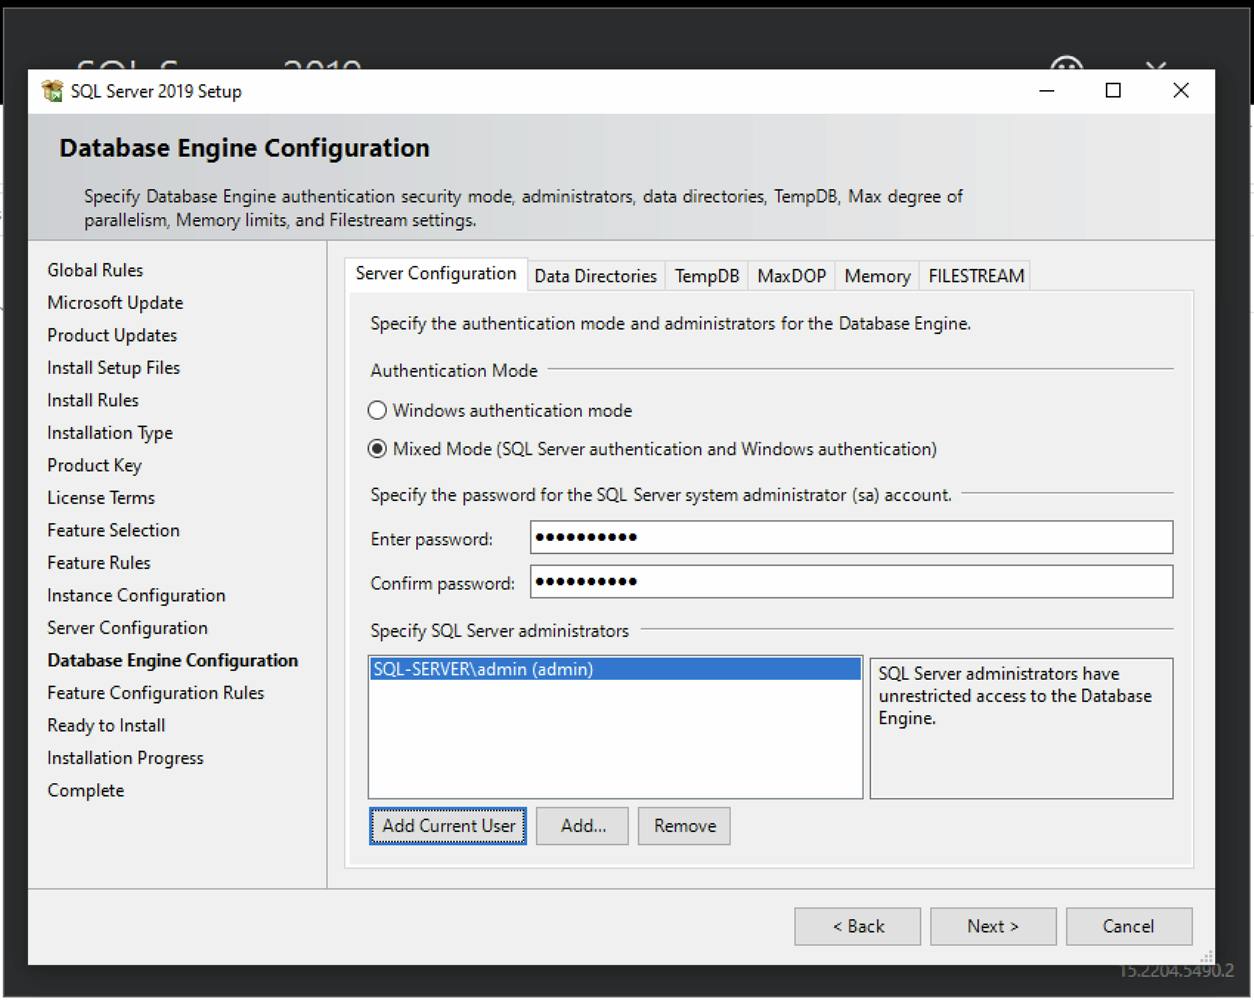
Choose Next.
At this point, you're ready to install the instance 🎉:
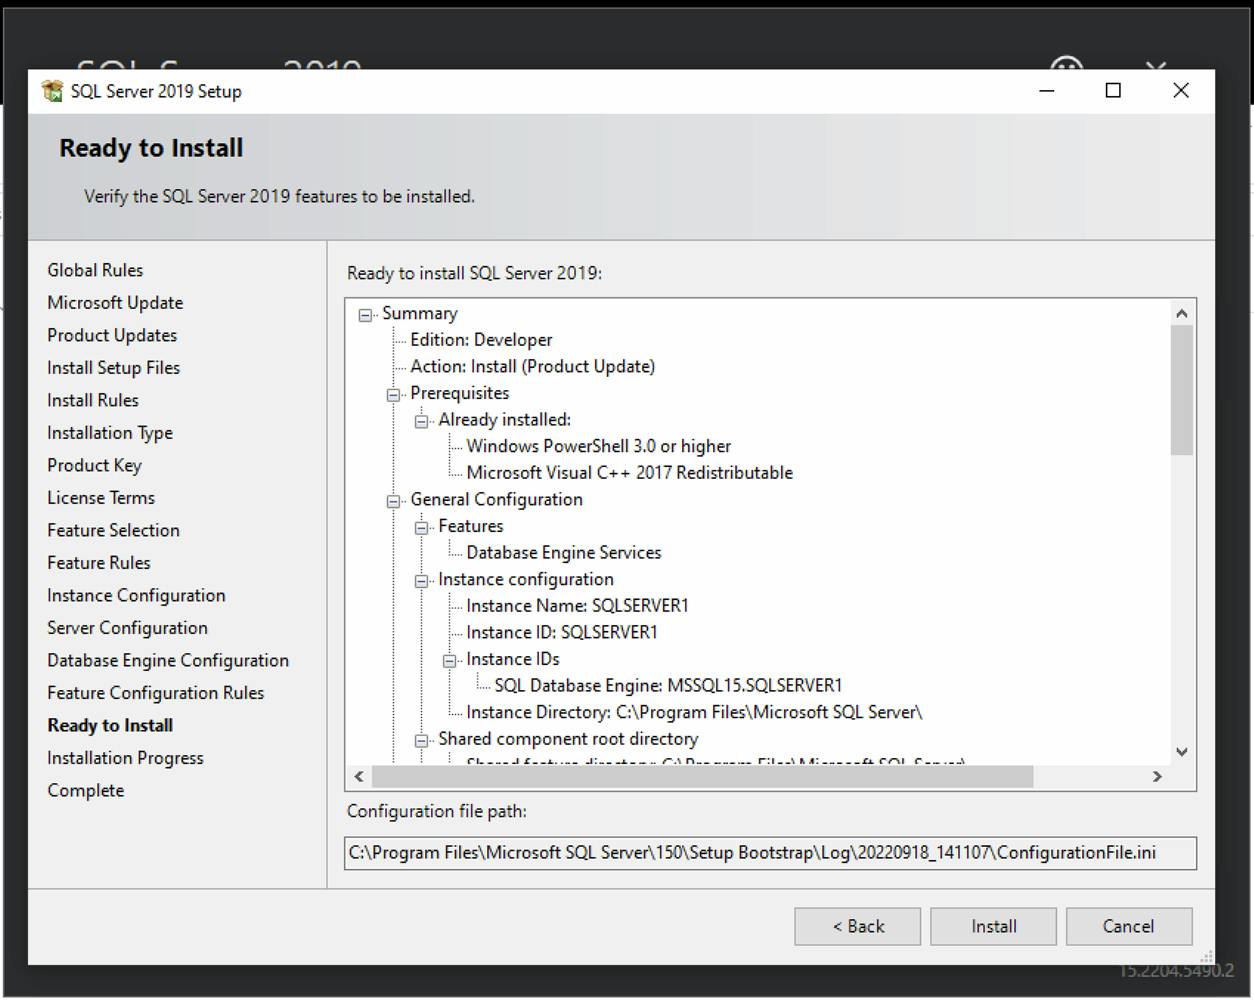
Choose Install.
After the installation completes, you should receive the below success page ✅:
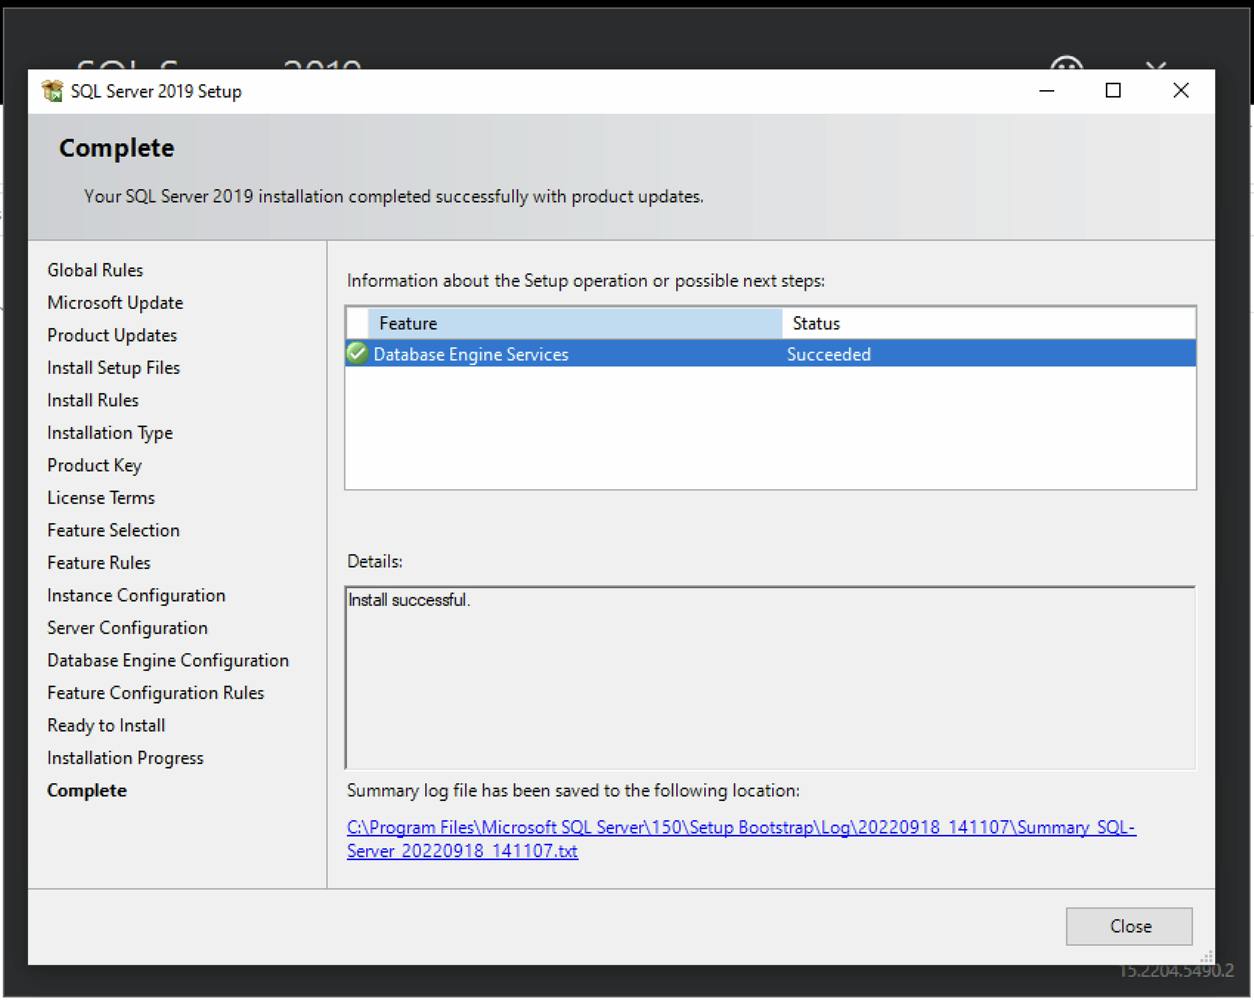
Choose Close and Close:
Choose Yes:
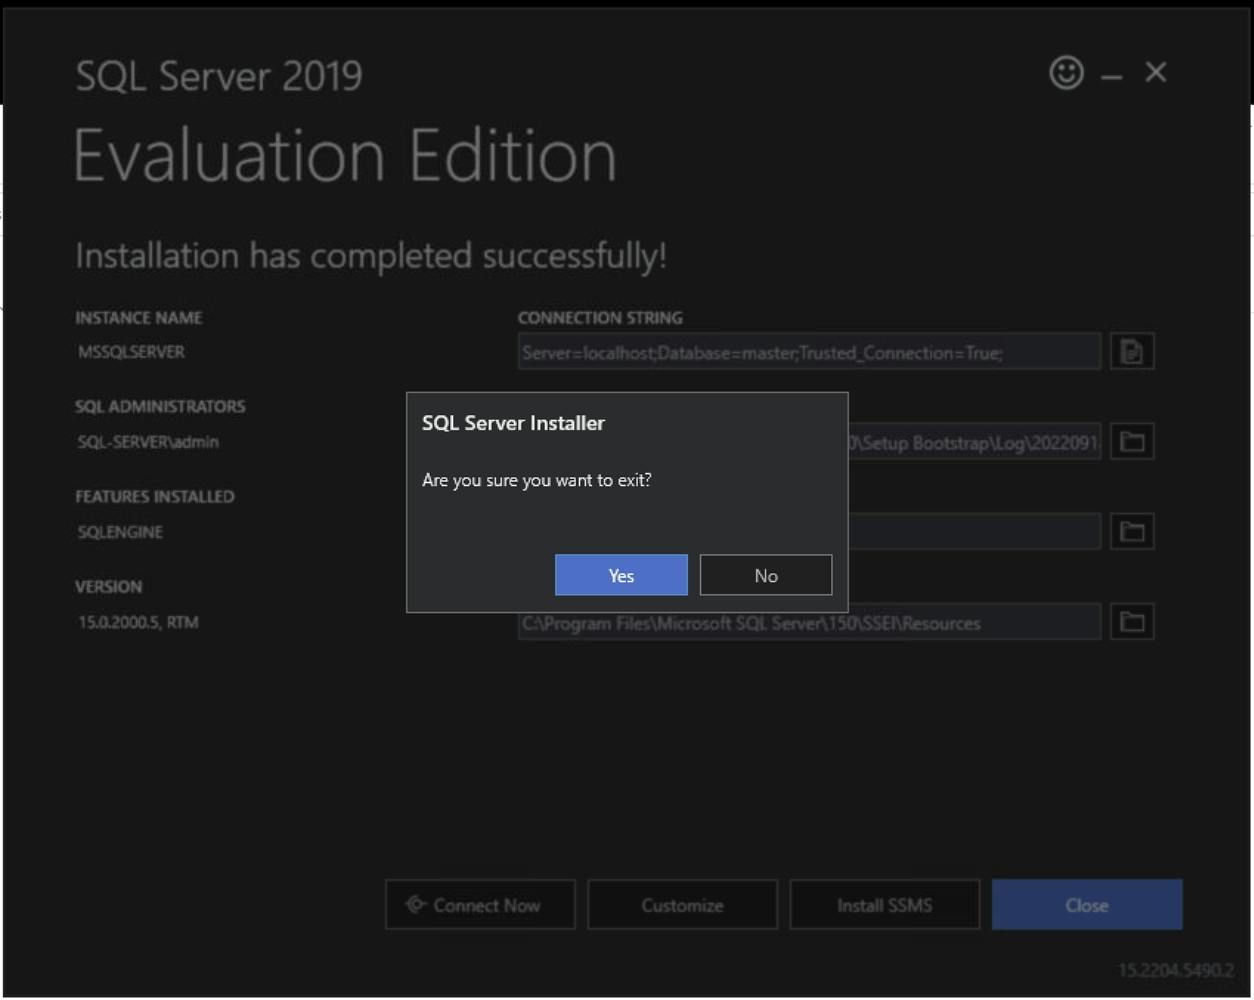
That's the end of the installation process! You can now access your SQL Server from itself.
Configure Your Server To Allow Connections From Another Computer
Enable TCP/IP Connections
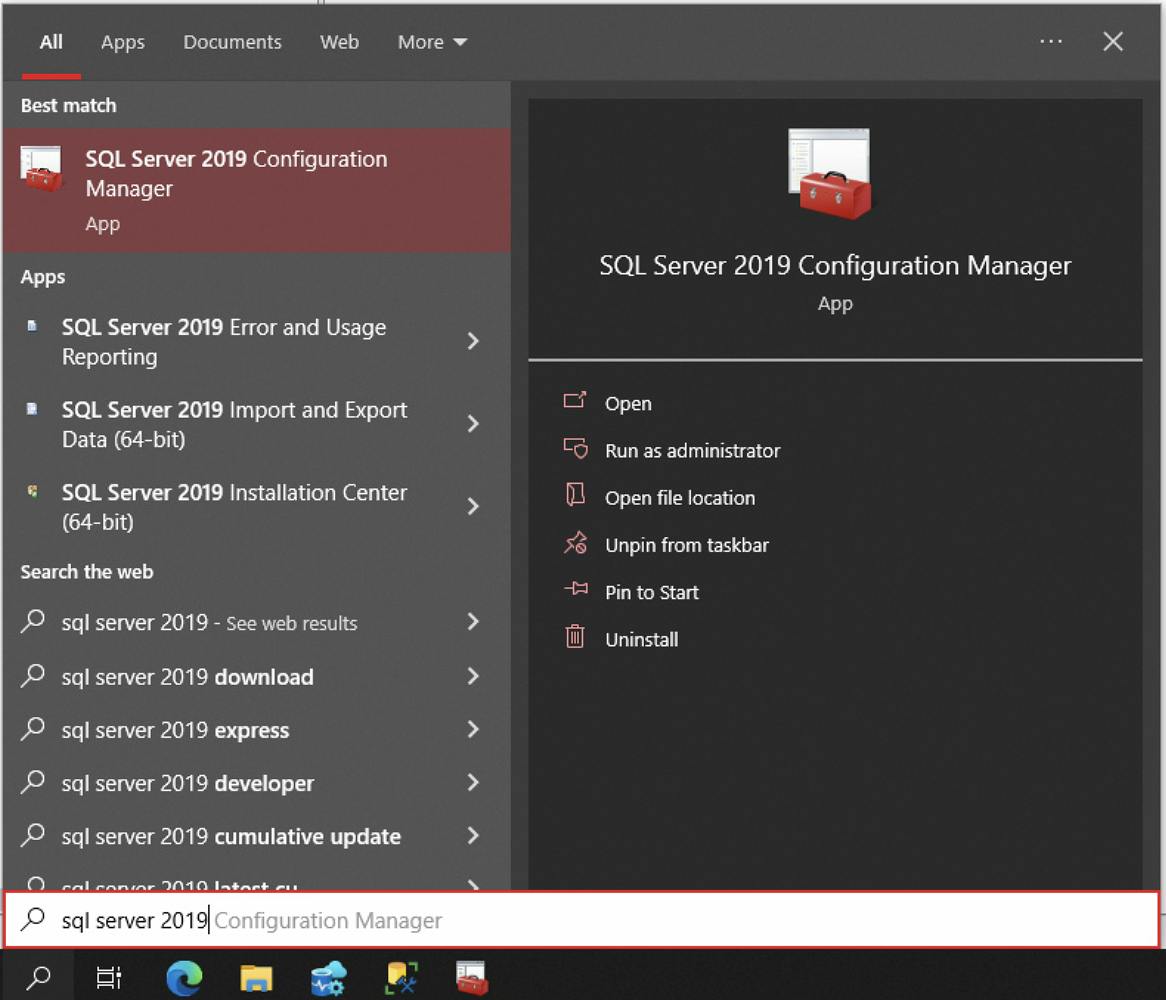
Find and open SQL Server Configuration Manager:
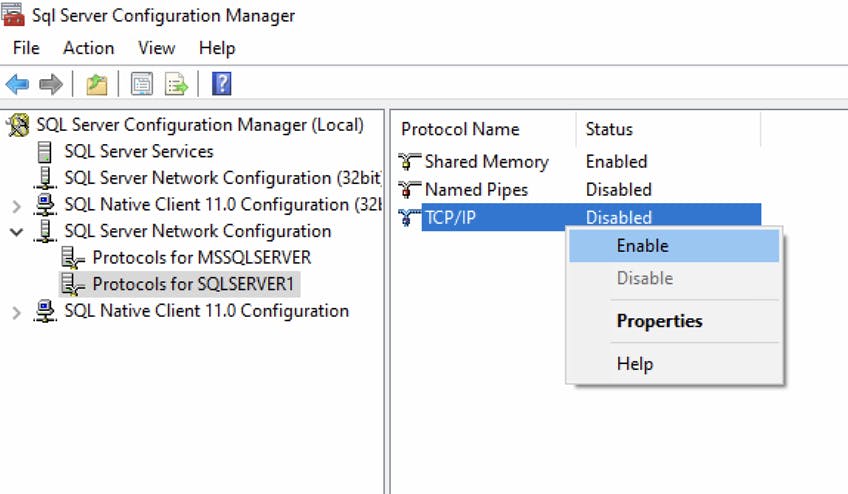
In the left pane, find and expand SQL Server Network Configuration and choose Protocols for <InstanceName>.
Right-click TCP/IP, and choose Enable:
Choose OK:

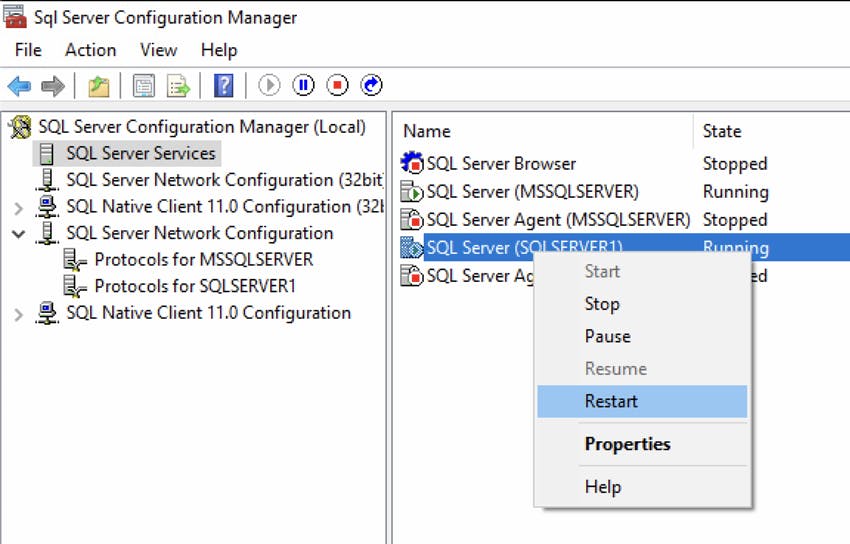
As the message above states, we'll have to restart the service.
Choose SQL Server Services in the left pane, right-click SQL Server (InstanceName), and choose Restart:
Configure a Fixed Port
In the left pane, find and expand SQL Server Network Configuration and choose Protocols for <InstanceName>.
In the right pane, right-click TCP/IP, and choose Properties:
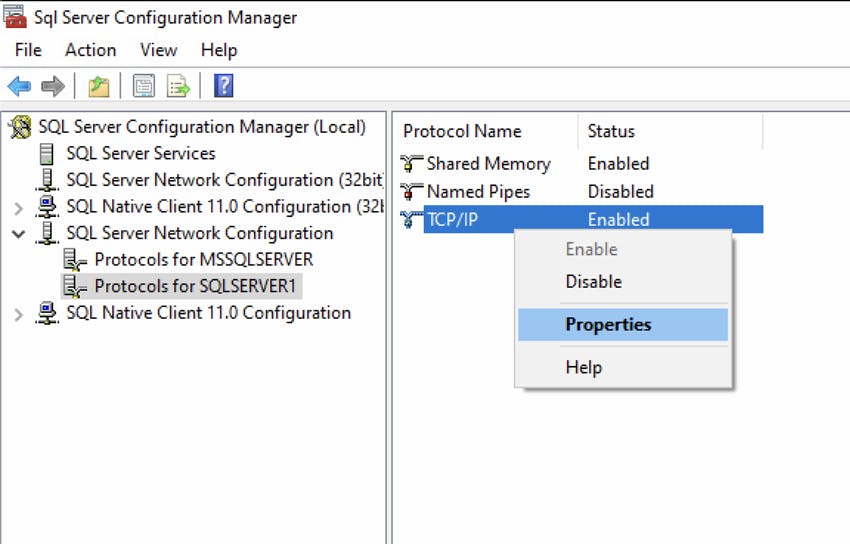
In the TCP/IP Properties dialog box, click the IP Addresses tab.
At the bottom of the TCP Port box, there is an IPAll section. Type an available port number. For this tutorial, we will use 1433:
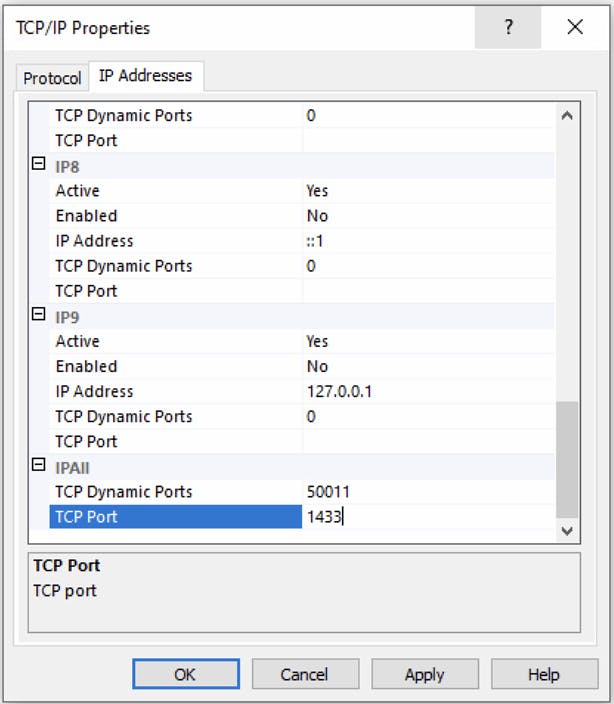
Choose OK to close the dialog box, and click OK to the warning that the service must be restarted.
Restart the service again:
Choose SQL Server Services in the left pane, right-click SQL Server (InstanceName), and choose Restart.
Open Ports in the Firewall
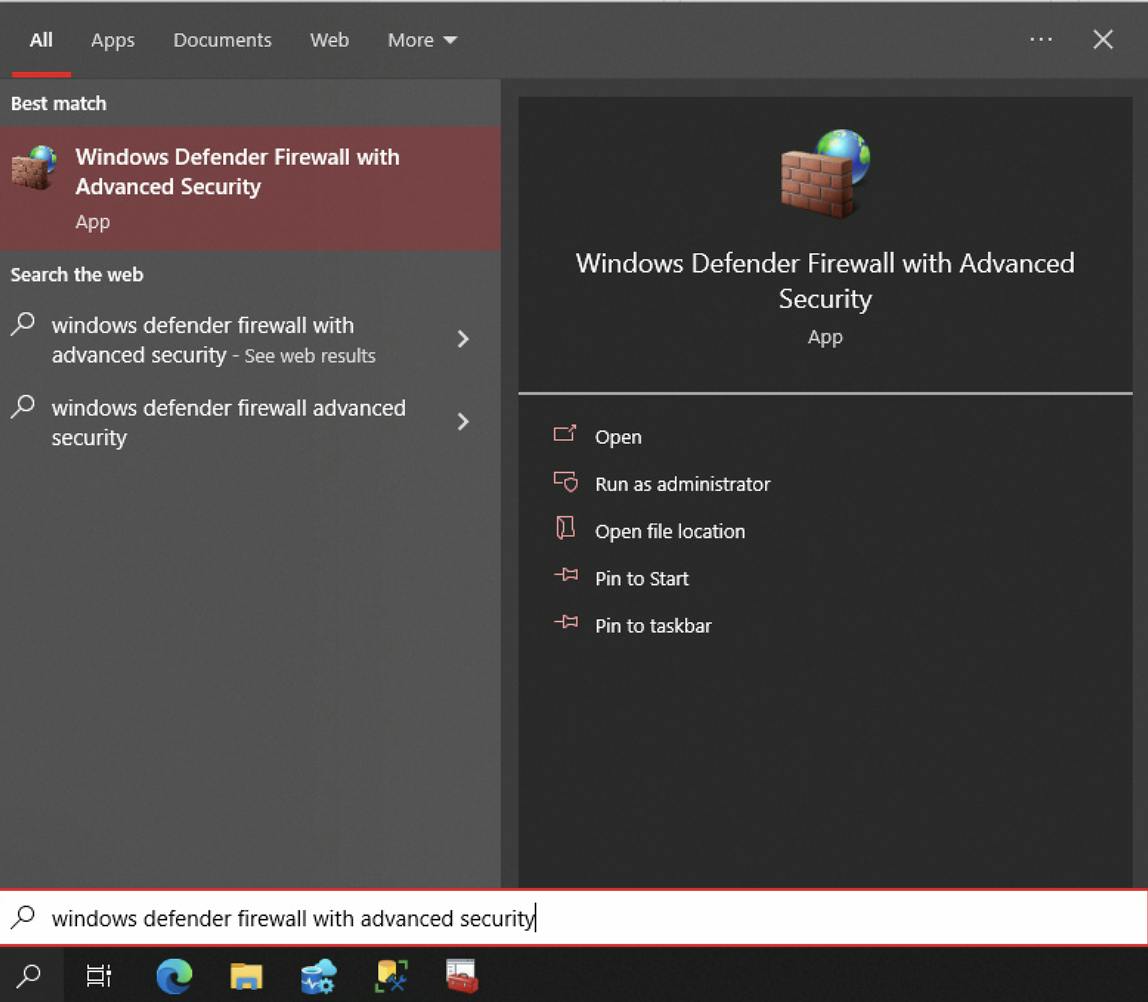
Find and run Windows Defender Firewall with Advanced Security:
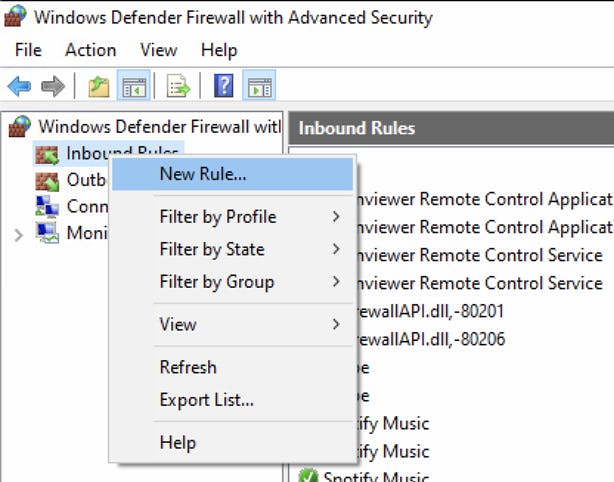
In the left pane, choose Inbound Rules, right-click Inbound Rules, and then choose New Rule... in the action pane:
In the Rule Type dialog box, select Port, and then choose Next:
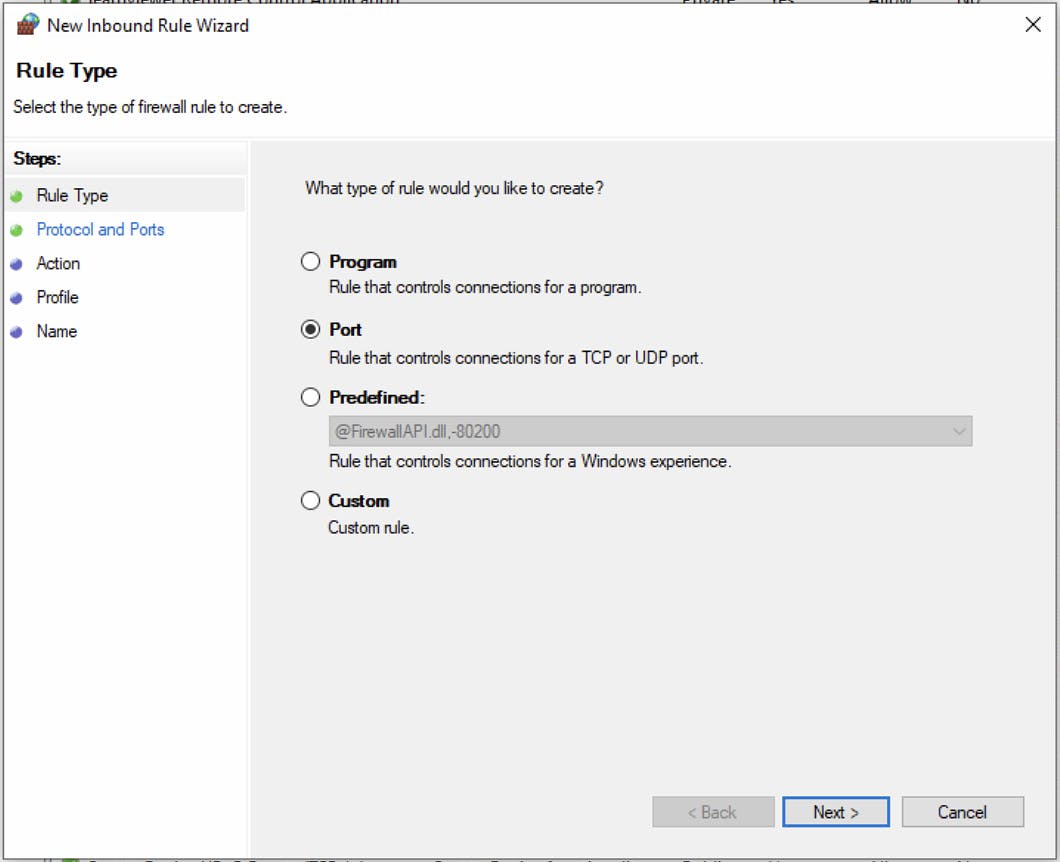
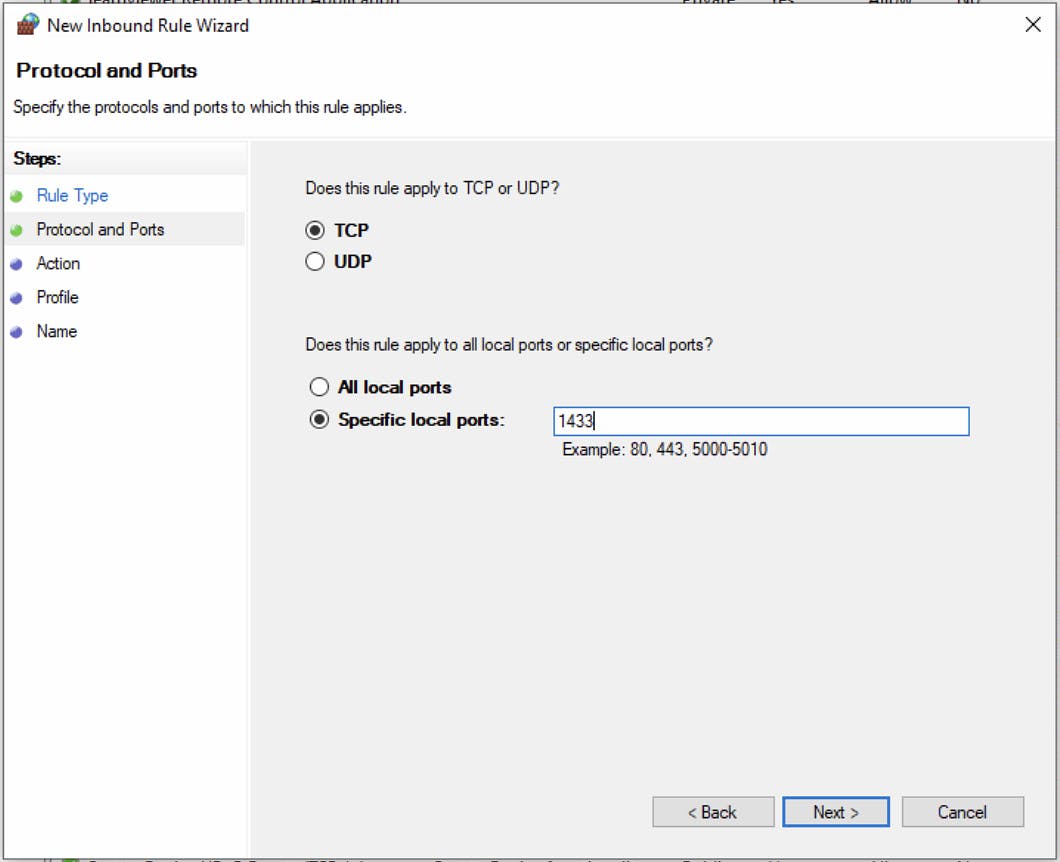
In the Protocol and Ports dialog box, select TCP. Select Specific local ports, and then type the port number of the instance of the Database Engine (in my case, 1433). Choose Next:
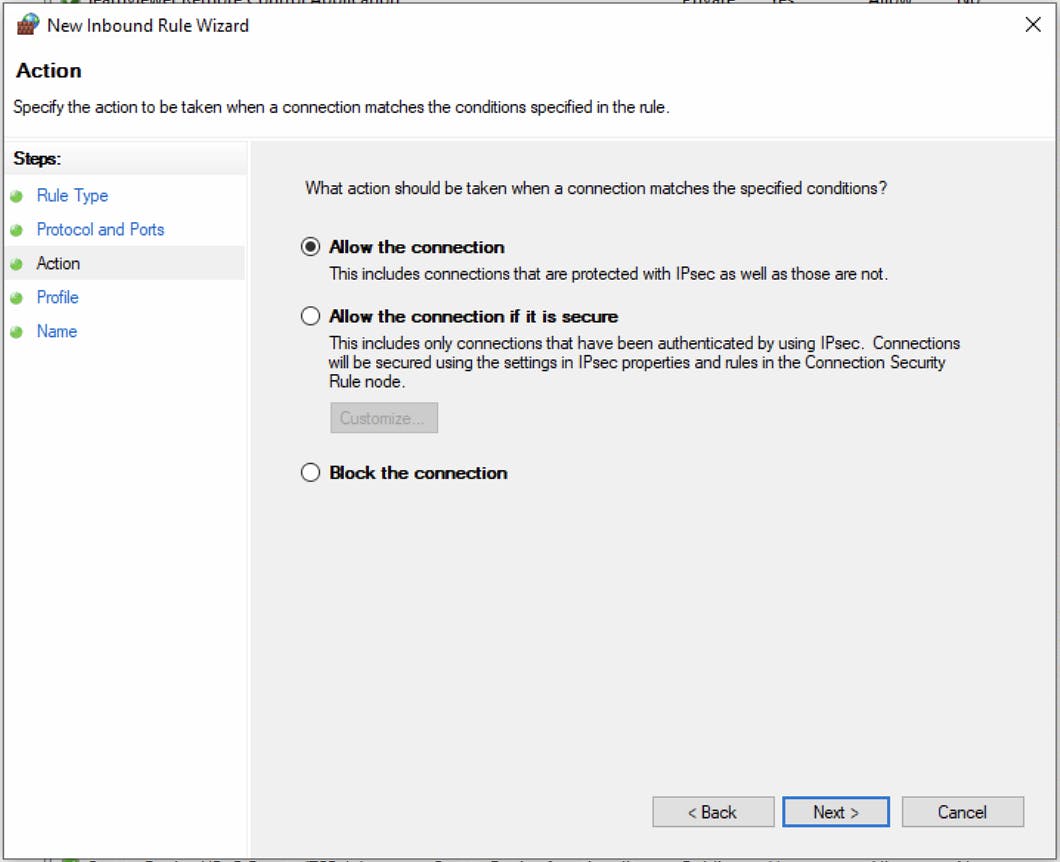
In the Action dialog box, select Allow the connection, and then choose Next:
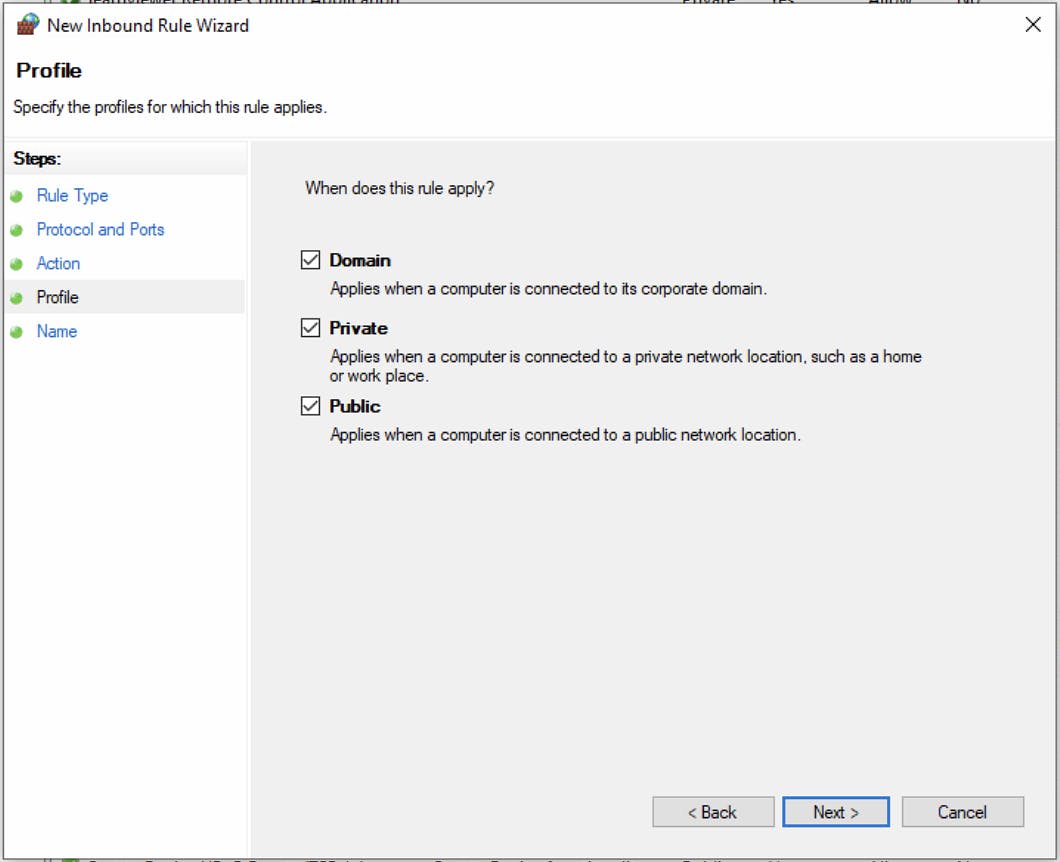
In the Profile dialog box, select any profiles that describe the computer connection environment when you want to connect to the Database Engine, and then choose Next:
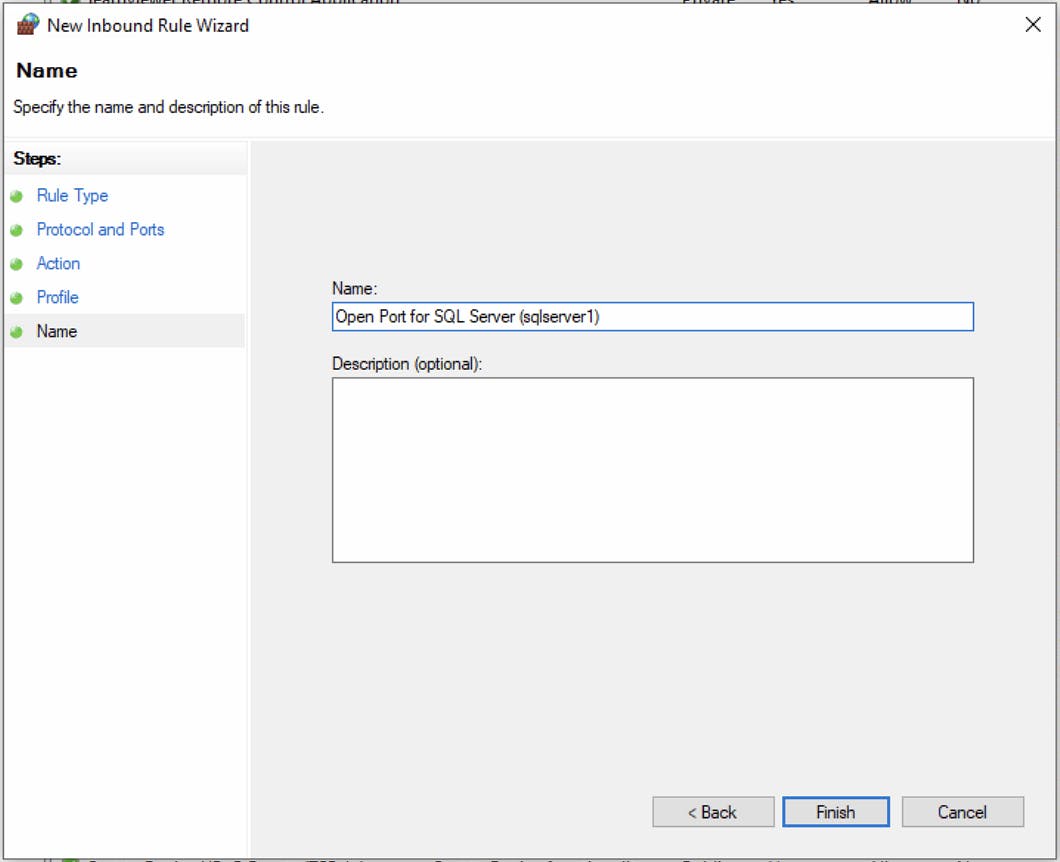
In the Name dialog box, type a name and description for this rule, and then choose Finish:
Now that you have configured the Database Engine to listen on a fixed port, and have opened that port in the firewall, you can connect to your SQL Server from another computer. 🎉
When the SQL Server Browser service is running on the server computer, and when the firewall has opened UDP port 1434, the connection can be made by using the computer name and instance name.